Foundationless frames
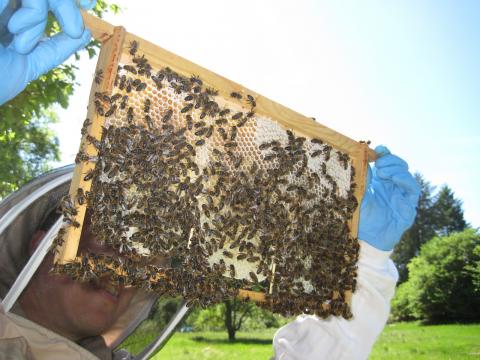
I'd been advised against letting the bees draw their own comb for many years, having always been advised to use foundation wax in my frames.
The arguments were many...
* Without a 'guide' they'll build comb in all directions and glue everything together
* They'll make too much drone brood.
* Foundation gives them a head-start.
More recently however I've gone back to thinking about foundation, and have been considering the arguments that go the other way...
* Foundation contains traces of pesticides and other chemicals from previous hives.
* The overall quality of the wax can never be guaranteed.
* An increase in drone production will boost your bees' genetics in your local area.
* The bees will build drone comb anyway, which 'breaks' the foundation pattern.
* Foundationless frames are much quicker and easier to recycle.
* Foundationless is cheaper!
I was finally swung over after a talk and blog post by David Evans - The Apiarist in which he extolled the benefits of foundationless frames, and also showed how he makes them.
I made some frames this way last summer, and was amazed at how well they were accepted and drawn, and decided that I would gradually move over to using them in most situations in my apiary.
In order to encourage others to think about trying the same, I thought I'd write a 'complete beginners' step-by-step guide to making them for the less DIY-inclined. It's very easy, and if you can build frames with foundation, I'd argue this is even easier!
Making the Frames
I recommend starting with The Apiarist's blog post, since it explains what you need, where to get it, and why to make them this way. Then come back here for a blow-by-blow method for making them!
Equipment
You will need the usual bits and pieces for frame assembly - however you will also need:

- Tongue depressors - at least 10cm long.
- Bamboo skewers - at least 15cm long.
- Tin Snips or other sharp cutters.
- Drill with 3.5mm drill bit
- Wood glue (PVA)
- Some cardboard for a template)
- Ruler/tape measure.
- Hammer and nails/gimp pins.
Preparation
Start by preparing all the materials for assembly. You will need 2 skewers and 3 tongue depressors for each frame.
- Start by assembling a frame, but leaving the 'wedge' piece of the top bar out.
- Take a piece of cardboard and cut it to the same area as the top of a frame.
- For National frames*, measure in 160mm from each end, and punch a central hole through the cardboard.
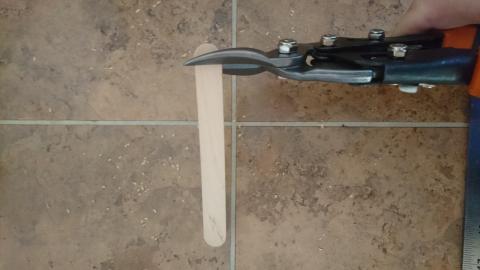
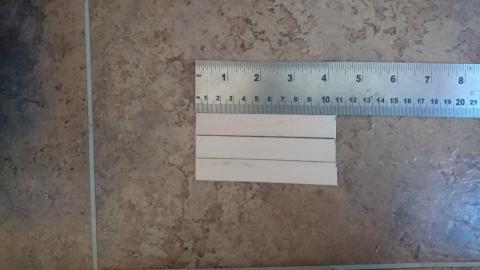
- Trim the rounded ends off 3 tongue depressors, leaving them approx 10.8cm long
Assembly
- Place the template on top of the frame top-bar, and mark through the 2 holes.
- Drill holes vertically through the top bar at each mark.
- Put a drop of glue into each hole.
- Insert a skewer point first down through each hole, so the point exits through the gap between the bottom bars.
- Invert the frame onto a flat surface, and run a bead of glue along the edge and round the skewers.
- Place the 3 trimmed tongue depressors along the top bar.
- Nail the top bar wedge into position, securing the skewers and tongue depressors.
- Trim off the pointed ends of the skewers flush with the bottom bars.
- Add a bead of glue round each skewer tip to help secure them to the bottom bars.
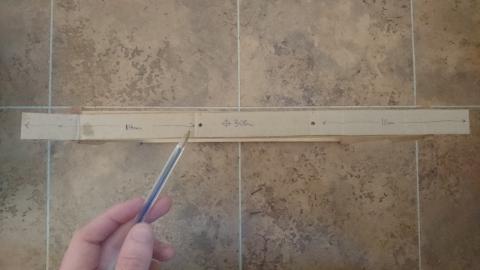
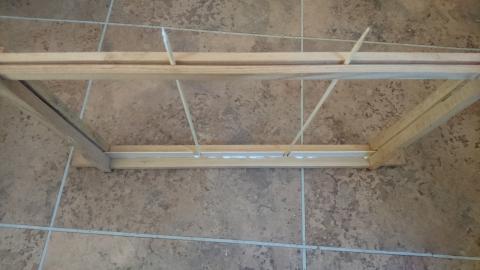
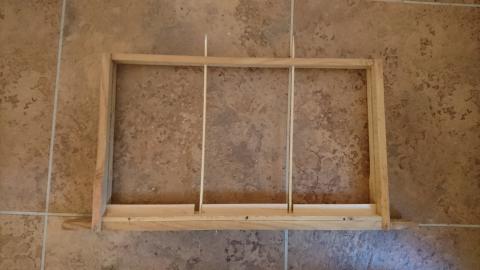
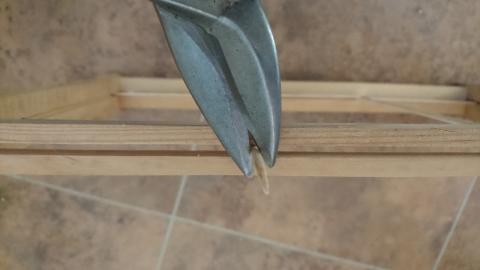
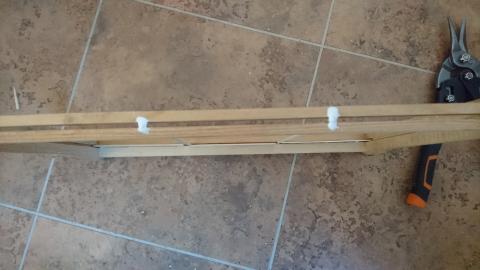
Once the glue has dried the frames are ready for use!
* Note: For other frame sizes, it's easy to work out the spacing:
- Measure the distance from the tip of the frame lug to inside the side bar. (On a national frame this is around 48mm).
- Next, measure the inside distance between the side bars. (On a national frame this is around 336mm).
- Divide this measurement by 3, then add the first lug measurement. (On a national frame this is 336/3 = 112mm + 48mm = 160mm)
Using the Frames
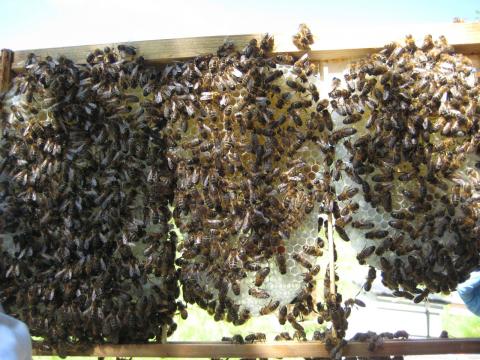
The frames can be used anywhere where you would use frames of foundation. Although they are drawn best when inbetween already drawn frames, they can draw a whole box in one go (such as a swarm or split) without going 'off-piste' with them!
The only extra care that is needed is when the frames are half drawn, they can sag if held horizontally. However once fully drawn they are as sturdy as frames with foundation.
Recycling Frames
Like frames with foundation, these frames should be replaced every 3-4 years. The process is very easy with foundationless frames however. Simply remove the wax using your preferred method (cutting, boiling, steaming etc), check the frame isn't in need of repair, and then simply put straight back into a hive for the bees to draw new comb.
